If you're looking for an efficient way to handle transactions, our iPad POS system is here to streamline your sales process. Whether you're a small business owner or managing a bustling retail environment, making a sale can be accomplished in just a few simple steps. Let’s dive into how to get started with your new POS app!

Step 1: Select Your Product
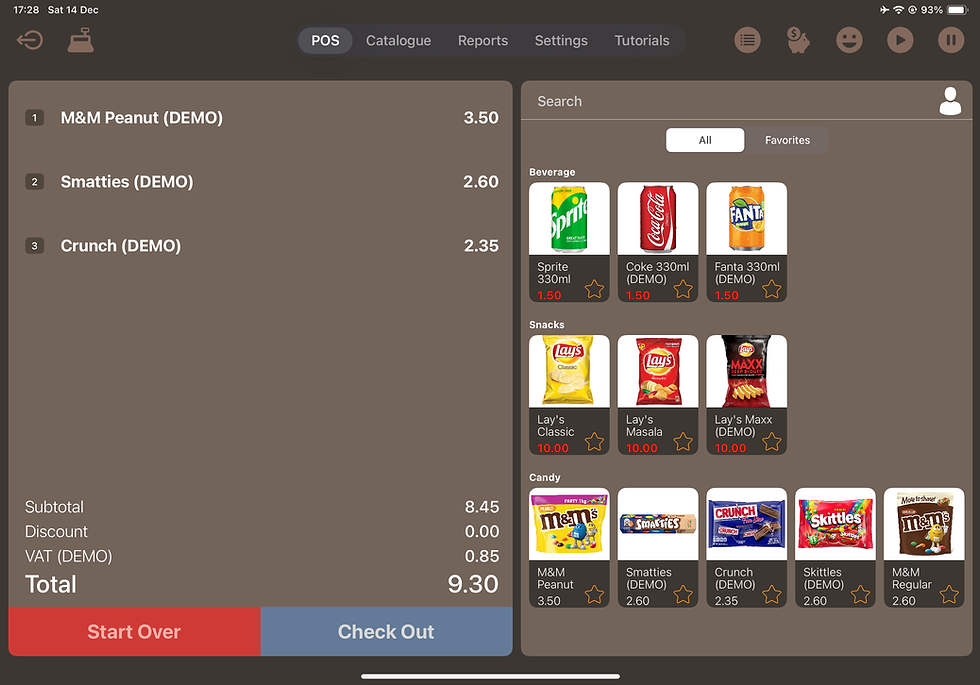
After installing the app, you'll notice a variety of items ready to be sold on the right panel of the POS section. To begin, simply tap on a product that you wish to sell. This action instantly adds the item to the order view located on the left side of the screen. You can repeat this step to add as many products as needed to the order.
Step 2: Proceed to Checkout
Once you’ve added all desired items to the order, it’s time to finalize the sale. Tap the "Check Out" button at the bottom of the screen. This action will prompt the payment panel to appear on the right side of your screen, allowing you to process the order seamlessly.
Step 3: Enter Payment Details
In the payment panel, you’ll see a keypad where you can enter the tendered amount. This is the amount that the customer is paying for their order. After entering the amount, simply tap the "Pay" button to confirm the payment.
Step 4: Review Payment Summary
Once the payment is processed, a payment summary panel will appear. This summary gives you the tendered amount and change due before moving forward.
Step 5: Print the Receipt (Optional)
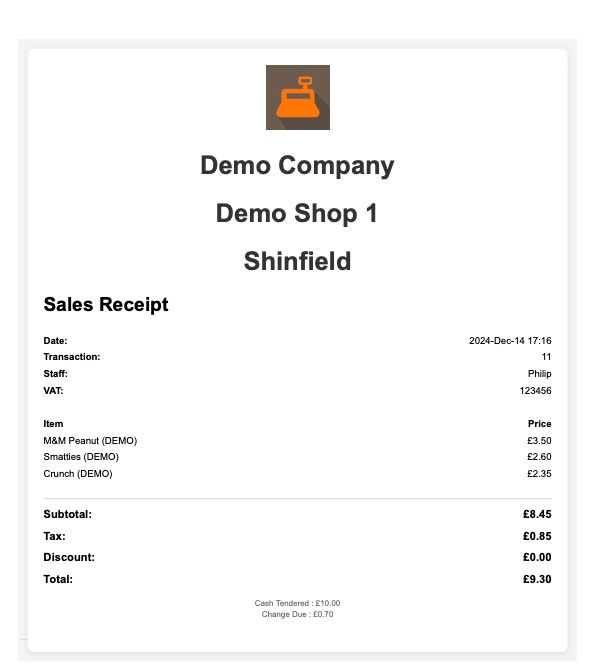
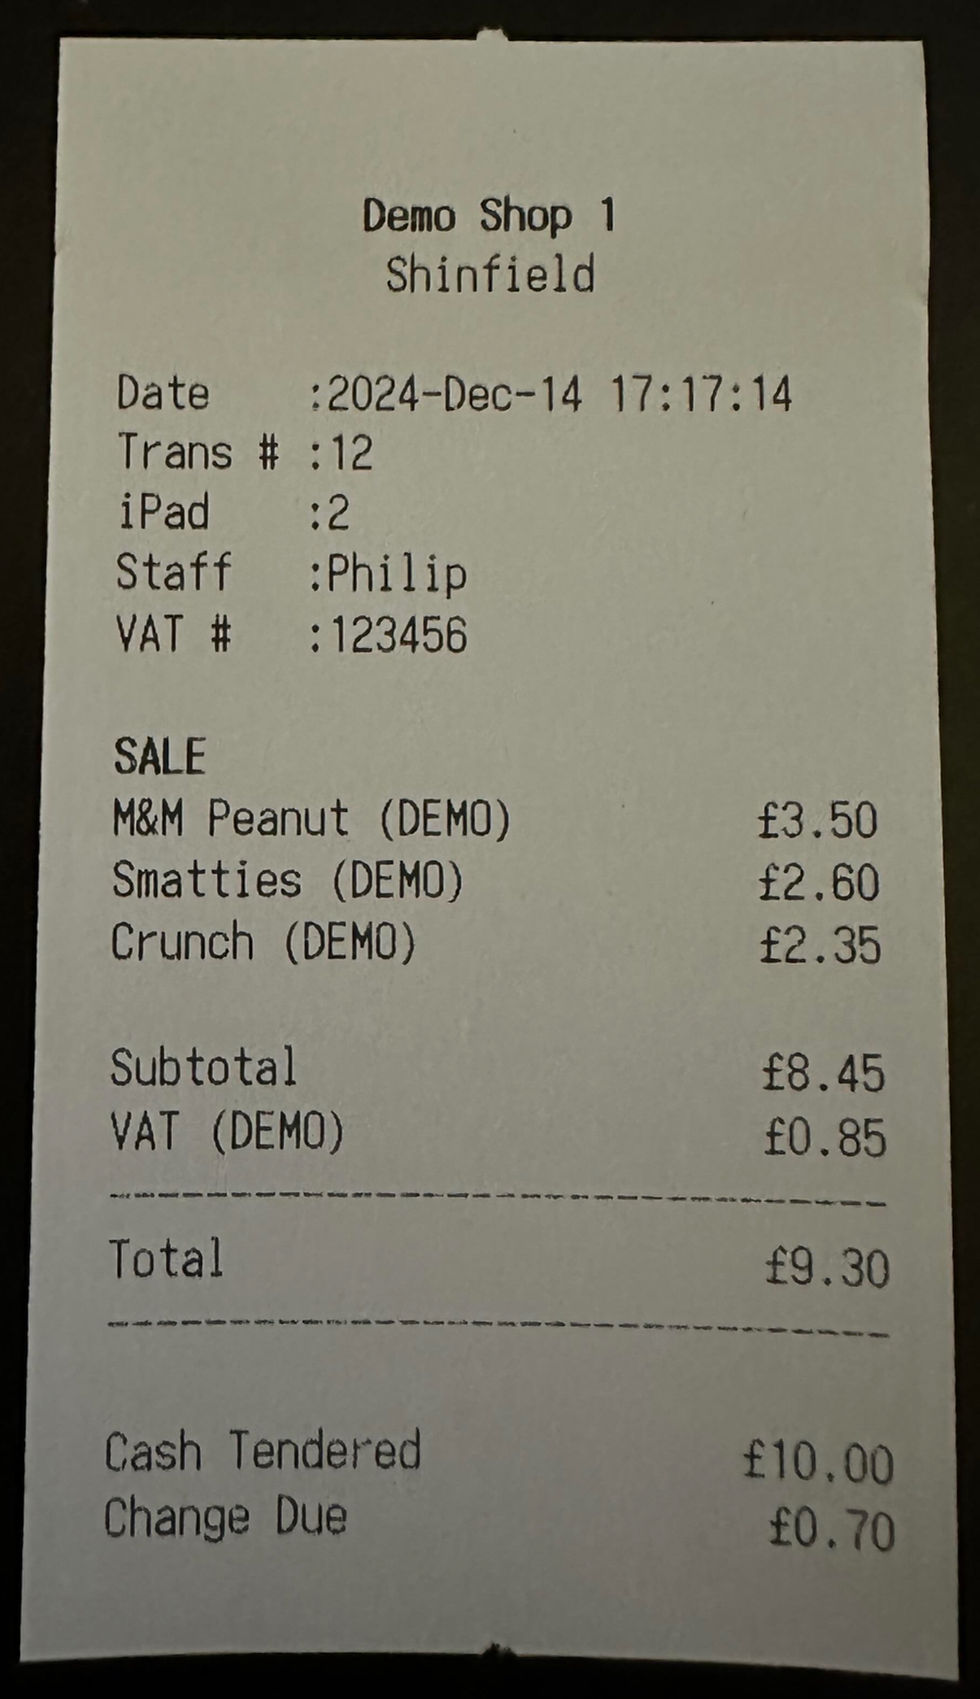
If you have a printer connected and set up, you can easily print the receipt for your customer. Just press the Print buttonin the payment summary panel. Our POS system supports A4 size receipts and is compatible with Star's thermal printer, ensuring a professional touch to your transactions.


Conclusion
With these straightforward steps, you can make sales quickly and efficiently using our iPad POS system. Enjoy the ease of use and the functionality our app provides, allowing you to focus more on your business and less on the complexities of transactions. Happy selling!
コメント